
What a Strength Training Form Check Actually Catches (With Examples)
Most people think form checks are about avoiding injury. That is part of it — but the more common finding is that you are working the wrong muscle entirely, which is why the lift stopped progressing.
Fit with Faisal Noor
Certified Fitness Coach & Nutrition Specialist
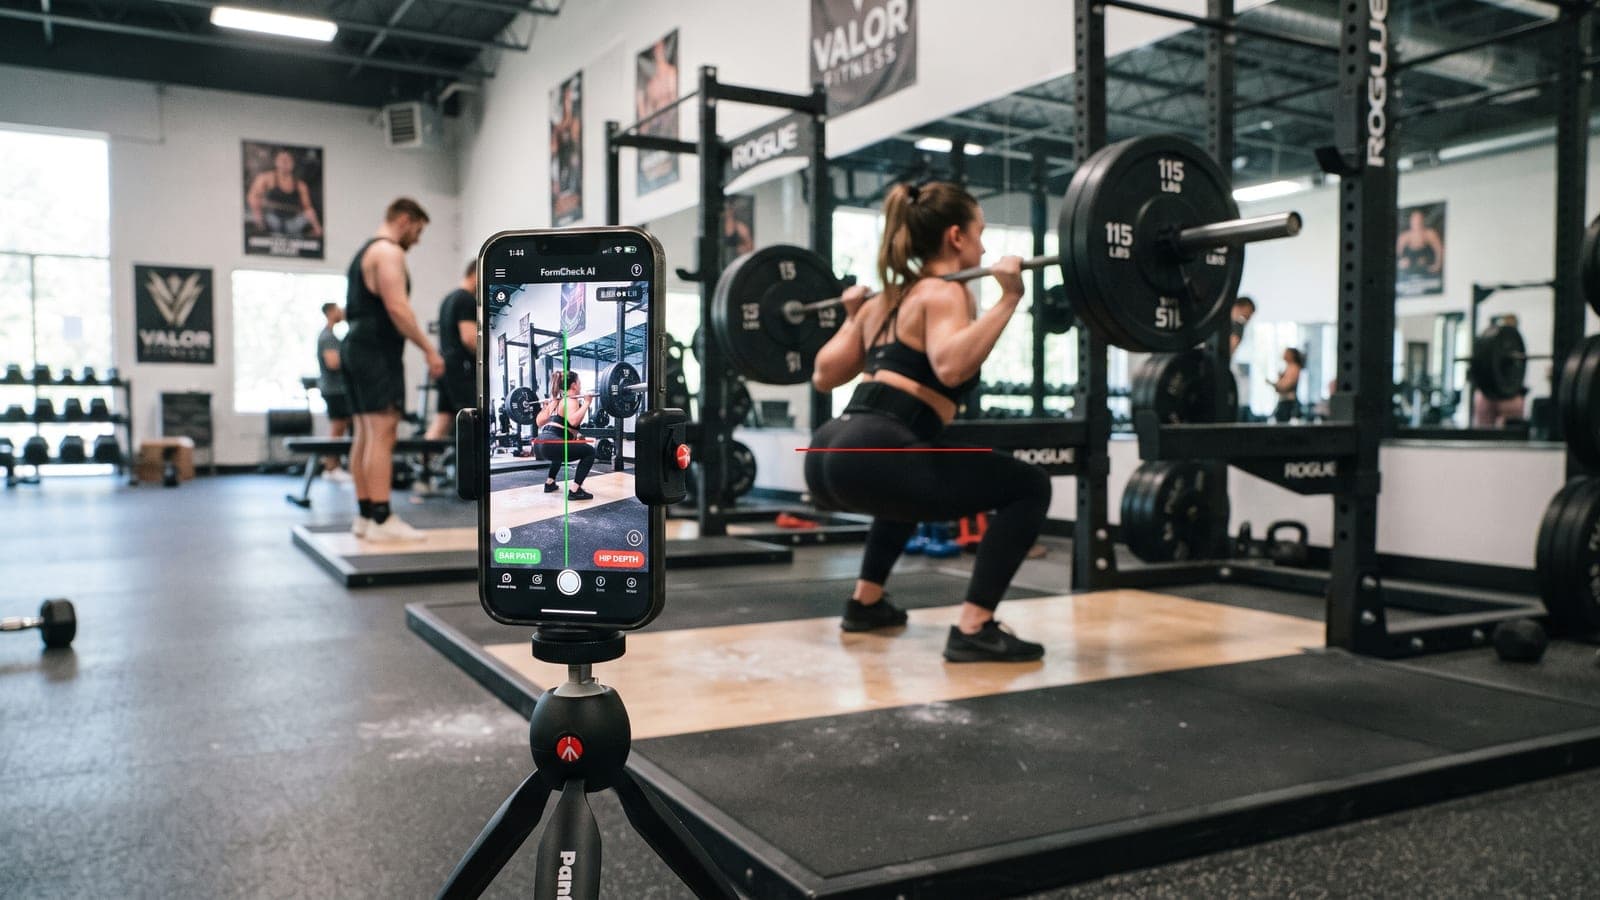
You have been squatting for four months. Nothing hurts, the weight goes up and down, and you assume that means the form is fine.
Then someone watches a video of it and points out that your knees track inward on the way up, which is why your quads are doing less than they should and why the lift has been stuck for six weeks.
Form checks are not primarily about injury. They are mostly about whether the exercise is doing the job you selected it for.
Why This Happens
You cannot see yourself lift. That sounds obvious and its consequences are underrated.
Your sense of what your body is doing under load is unreliable — genuinely so. Lifters routinely believe their back is flat when it is rounding, that they are reaching depth when they are cutting it by fifteen centimetres, that they are pressing evenly when one arm is doing more.
This is not carelessness. Under load, attention narrows to the effort, and the brain fills in the rest from what it expected to happen.
The second factor is that the body will always find a way to complete the rep. If the target muscle is not strong enough, something else compensates — the lower back takes over from the legs, the shoulders take over from the chest, momentum replaces tension. The rep is completed. The stimulus goes somewhere other than where you wanted it.
You cannot feel this happening. It looks like a successful set.
What Most People Get Wrong
Believing that no pain means correct form. Most technique faults do not hurt. They quietly reduce the effectiveness of the lift, and the injury risk accumulates over months rather than announcing itself in the session.
Treating form as a beginner concern. Faults appear at every level, and they appear again whenever the weight increases. Technique that holds at 40 kg often breaks at 70.
Filming from a useless angle. A video shot from directly in front of a squat shows almost nothing about depth or back position. The angle determines whether the clip is diagnostic or decorative.
Assuming the fix is at the site of the problem. Knees caving in a squat is usually not a knee issue. It is commonly weak glutes, stance width, or foot position — and correcting it at the knee does not work.
Bad form rarely hurts. It usually just means the muscle you were trying to train is not the one doing the work.
The Fix: What Gets Caught
Here are the faults that come up most often in video reviews, and what each one costs you.
Squat: knees caving in
Cost: less glute and quad involvement, more stress through the knee. Usual cause: weak glute medius, stance too narrow, or feet pointing too straight. Fix: widen the stance slightly, turn toes out 15–30 degrees, and deliberately push the knees out as you rise.
Squat: cutting depth
Cost: substantially less glute and hamstring work. This is the most common reason a squat builds less than expected. Fix: reduce the weight, hit depth on every rep, then rebuild. Almost everyone finds their true working weight is lower than they thought — and progress resumes immediately.
Deadlift or hinge: rounding the lower back
Cost: this is the one with genuine injury risk. Usual cause: the weight is too heavy, or the hips rise before the bar moves. Fix: lighten it, brace before the pull, and lead with the chest.
Bench or press-up: flaring the elbows to 90 degrees
Cost: shoulder stress, less chest engagement. Fix: tuck the elbows to roughly 45 degrees from the torso.
Row: pulling with the arms
Cost: biceps do the work, back does not. Very common, and it explains a great many stalled back lifts. Fix: initiate by pulling the shoulder blade back, then let the arm follow.
Every lift: using momentum
Cost: less time under tension, less stimulus, more joint stress. Fix: three seconds down, controlled up. The weight will drop and the results will improve.
How to film it properly
If you are submitting a clip, or checking yourself:
- 45 degrees from the front, at hip height, for squats and deadlifts
- Side on for pressing and hinging
- Full body in frame, including feet
- A full working set, not one rep — faults appear as fatigue sets in
- A genuinely challenging weight. Perfect form at 40% tells nobody anything.
That last point matters most. People submit their cleanest set, which hides the fault they need catching.
Doing This Without a Coach
Film yourself, watch it once at normal speed and once slowly, and compare against a reference video of the same lift. You will catch the obvious faults — cut depth, rounded back, wild momentum — on your own.
What is harder to self-diagnose is why. Knowing the knees cave is one thing; knowing whether it is stance, ankle mobility, or weak glutes is where an outside eye earns its cost, because the wrong fix wastes months.
The supported tiers of the strength course include form review on video submissions for exactly this reason — and if a lift has been stuck for six weeks, that is often the first place to look.
Film your next working set of whichever lift has stalled longest. Watch it back before you do anything else. Most people find something within the first thirty seconds.
Keep Reading
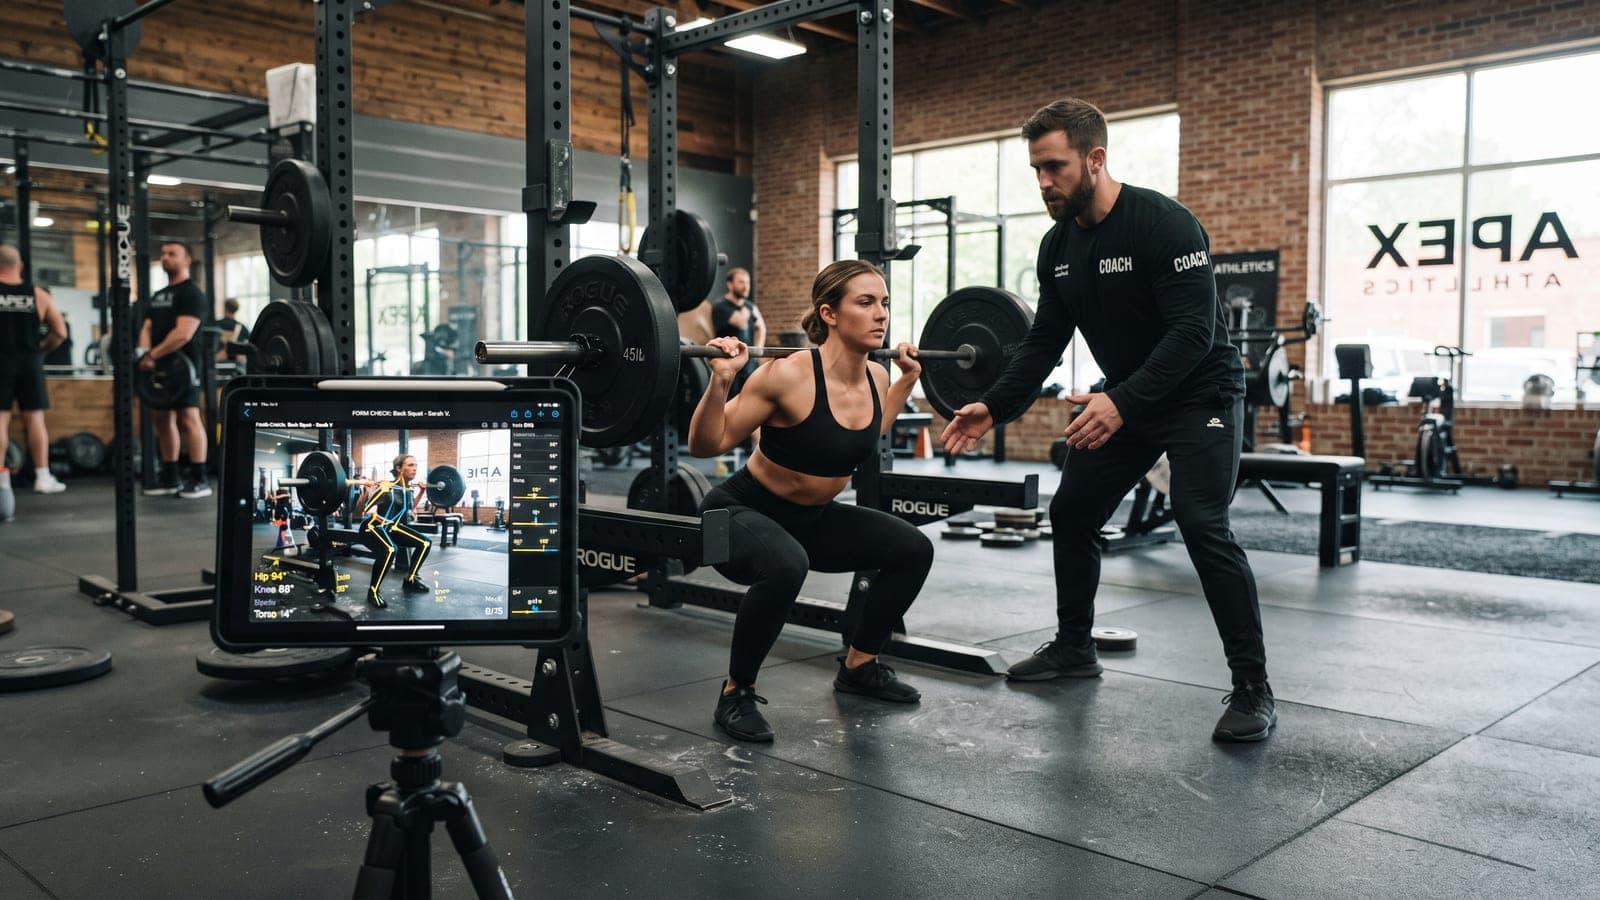
How to Fix Bad Squat Form: A Coach's Checklist
Knees caving, heels lifting, depth cut short, back rounding. Here is what each fault is actually caused by — because the fix is almost never at the place where the problem shows up.

Rest Days: Why Skipping Them Is Slowing Your Progress
Training is the stimulus. Recovery is where the adaptation actually happens. If you train seven days a week and wonder why nothing is improving, this is usually the reason.

The 5 Exercises Everyone Should Master Before Anything Fancy
Before cable crossovers and Bulgarian drop sets, there are five movement patterns that cover the entire body. Master them and most of the gym becomes optional.